Saturday, March 3, 2012

Headband

Hey!  After a brief lapse, back with a new mini project.  I made a headband! I had bought a bunch of ribbon at my fabulous ribbon store, M&J Trimmings, because I decided I wanted some handkerchiefs for runny winter nose, but wanted, you know, pretty ones.  But when I got home and actually started pinning the ribbon on the handkerchiefs, I realized the ribbon was too stiff and wouldn't work as nicely as I wanted it to.  I decided to embroider patterns on them instead (photos when (if?) I get to it), but in the meantime, I have all this ribbon lying around. So I decided to make a headband.


It's kind of crude, but I just took a piece of the ribbon, and sewed a doubled-up regular hair rubber band onto the ends, joining them together.


And here it is! I might take it out for a spin in public tomorrow.

Wednesday, November 9, 2011

a (not so scary) zippered pillow cover

So, I'm Jennifer and my mom got me and sewing machine for my birthday a couple of months ago.... Which means I am the beginner of all beginners! It also means that I was beyond excited when Natalie invited me to join in this blog. It is definitely the kick in the hiney that I needed to pick a project, go fabric shopping, and actually learn how to thread my sewing machine. 


Natalie searched the interwebs and found a fabric store nearby that looked like it had some promise. 


Turns out she has a pretty good eye - there were so many good options! 

I chose to start with a project that was quick, easy and would hopefully boost my sewing confidence to help me glide right into project #2 and not stop after #1 with a wad of fabric scraps in the corner. When I saw this zippered pillow tutorial on DesignSponge, I knew it was a perfect starter for me.

I picked up a travel sized pillow from Target and was on the lookout for a coral colored fabric that would go perfectly with our bed's light grey sheets, white quilt, and turquoise square pillows. 

winner winner chicken dinner!

I purchased a 1/2 yard - more than enough for my 13"x16" pillow. 

Equipped with the inspiration I needed to get started, I pulled out my grandmother's sewing supplies and went through/organized every last item. (OCD much?) ahhhh nostalgia....

I managed to successfully thread my machine and got to work following my tutorial. Step one: cut fabric. Step two (if you are me): rotate cut fabric 90 degrees and recut fabric - this time, making sure to actually add the 1/2" seam allowances (whoops!). 

It may sound brave to start on a project with a zipper, but this one was pretty easy - even for a beginner like me! The concept was to start with a zipper about 4" shorter than the edge of your pillow (I had to cut mine to the appropriate length), center it up on the edge and mark the beginning and end with pins. 

Next, you do a straight stitch from the corners to the pins and a basting stitch in between the pins. This way, after you sew your zipper down on top of the basting stitch, you can cut the stitch really easily to reveal your new zipper!

clear as mud, right?! Maybe you should stick to the tutorial, rather than my recap. :) 

One trick that I did learn about pillows was that if you snip off the excess at the corners, you will have sharp, non-bulky corners. 

Once you are done sewing, you just flip it right side out and VIOLA!

Here's how it looks in its new home. Maybe this will inspire me to make our bed in the mornings....  

maybe :)

- J

Tuesday, November 1, 2011

Yo Ho Ho

For my first project I decided to make a skirt.  I hadn't been planning on doing anything for Halloween, but when my Ultimate Frisbee team (Undercover Pirate Socks) decided to all come in costume, I caught the dress-up bug. I first went to the fabric store and picked out a great black and white striped fabric - 2.5 yards. This number will become important later. I used the instructions for the circle skirt from dana-made-it.com and set to work.

My fabric.


The skirt is intended to be cut out of one large piece of fabric into a kind of donut shape. The old adage, measure twice, cut once, like so many of the things told to me over and over by my elders, went unheeded, and resulted some last-minute scrambling. I ended up not having enough fabric, and had to cut it into four separate panels, which I then sewed together.

Pieces sewed together.


At this point it was getting late and I was tired of taking photos, so I don't have any of putting on the elastic waistband.

Helper.


This is the unhemmed skirt.  At this point I was tired and annoyed and went to bed without finishing it. I did finish the next day, though, somehow managing to make it more or less even all the way around.


The finished costume!


Things I would will do differently next time: measure properly, start the project before 8pm, use black thread on a black waistband instead of white thread. I'm not so good at sewing in a straight line yet.

Sunday, October 30, 2011

Wanted: projects for fabrics. 100% cotton.


I have anywhere from 1/2 yard to 2-3 yards of these. Most are ~1 yard.

DSC00703DSC00705DSC00707DSC00723

DSC00714

Only have fat quarters of these (1/4 yard). Will be good for a quilt or other small project

DSC00718DSC00709

DSC00721

Ideas? Takers? I’m happy to share Smile

Thursday, October 27, 2011

cute, easy, fun apron from the crafts dept.

I’ll admit that having not touched the sewing machine in over 2 years, I was a bit worried how this would go. But, thanks to the wonderful tutorial from the crafts dept., and Natalie and Jen’s encouragement, jumping back into sewing was pretty fun!
You can find this apron tutorial at http://thecraftsdept.marthastewart.com/2010/06/apron-tutorial.html
Here is my journey through it
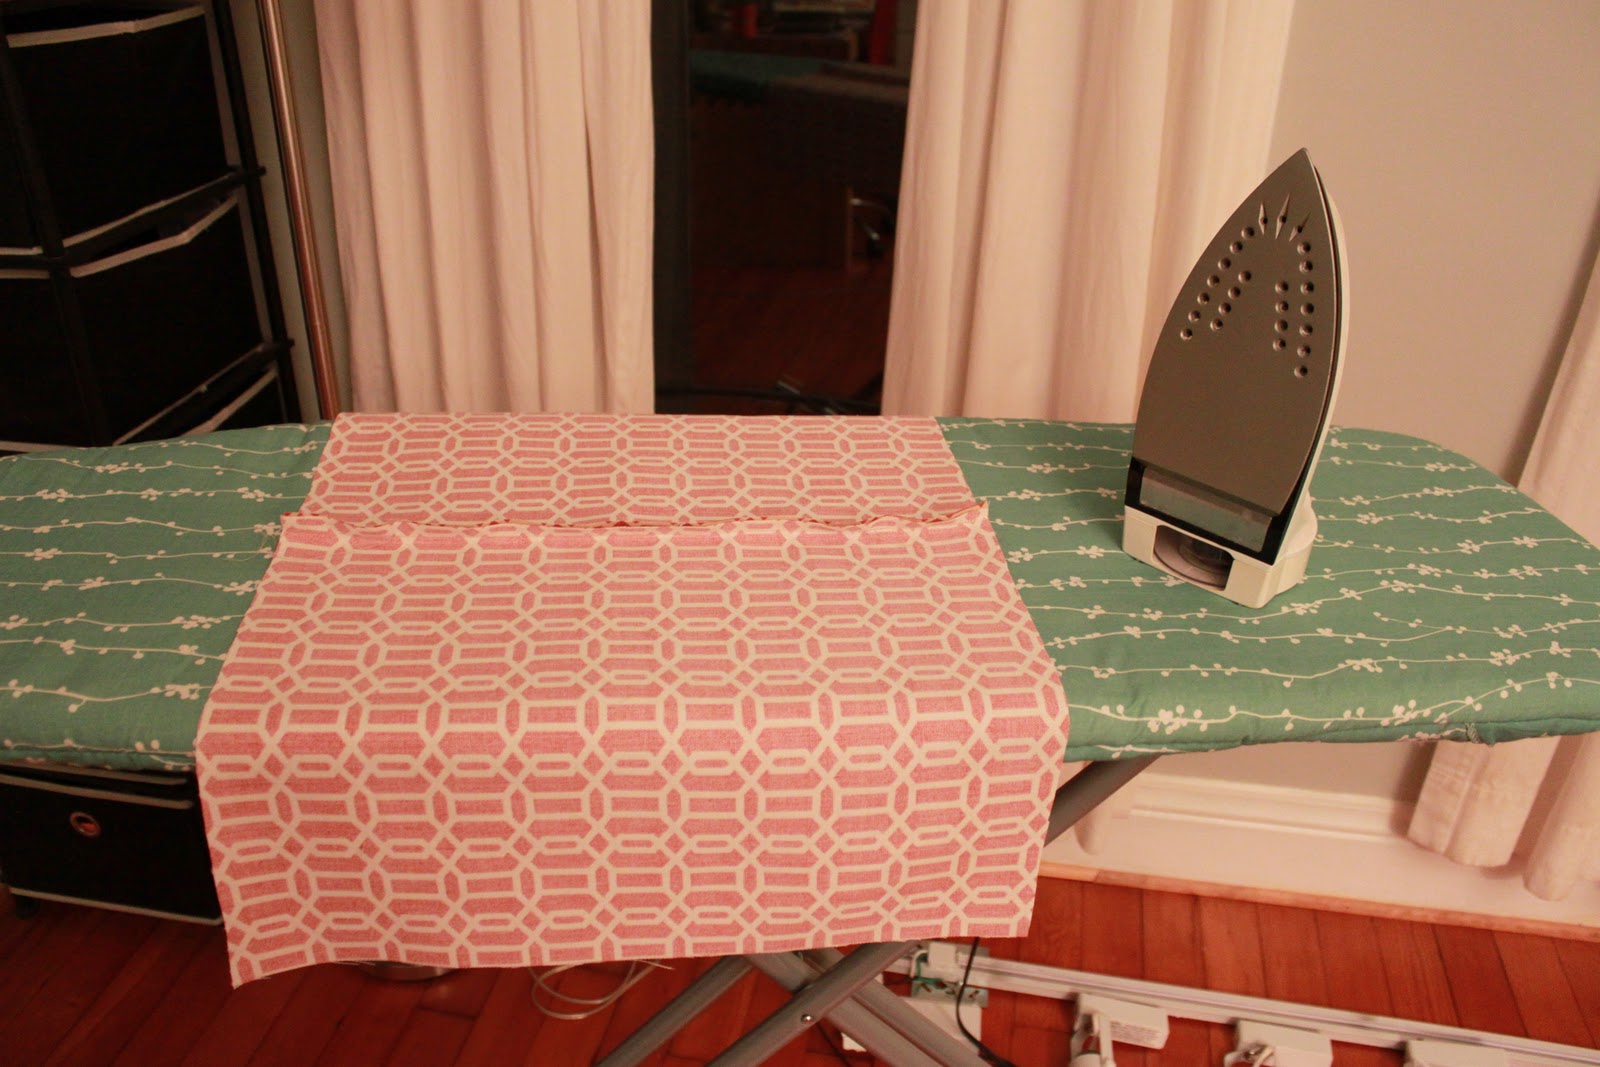
First, I printed out the pattern, cut it out, and pieced it together. Although, first I had to piece together enough of the pink lining fabric in order to to have enough. The patchwork patten for the front fabric turned out to be really appropriate for this apron since everything ended up being patched together!
DSC00668
Next, I pinned the pattern onto both pieces and cut the shapes out.
DSC00671
DSC00672
Did the same for the pocket, and pinned it in place.
DSC00675
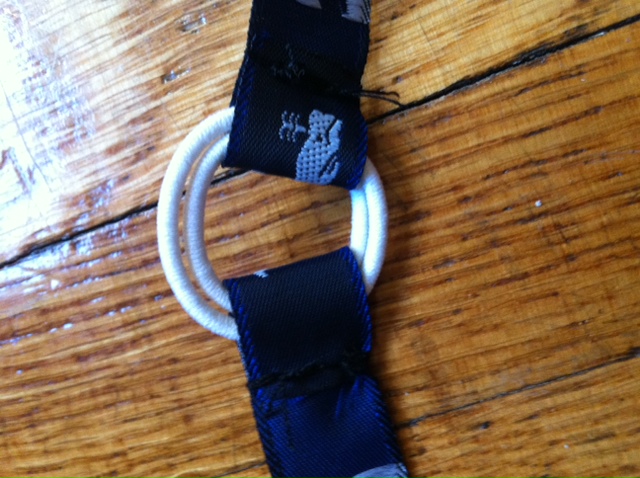
Since I didn’t have twill tape, I decided to make my own ties using, you guessed it, pieced together scraps. I cut 2” strips and sewed 2 together to make a sturdier strap.DSC00676
Of course I didn’t have enough to make them all one color, so the neck ties are made from pink material. Once I made all the ties, I pinned them in place and sewed them.DSC00680
Last, I placed the lining fabric on top of front side, ties inside, and sewed all around leaving an 8” hole at the bottom. I turned it inside it out, revealing the ties. Then, I hemmed the bottom and sewed 1/4” around the entire apron.
This is the mess I made of my living room.
 DSC00683DSC00687
And, this is the finished product.
apron_27OCT2011DSC00688
Next project, pot holders from prudentbaby. http://www.prudentbaby.com/2010/12/pretty-potholders.html